Wishing everyone a Happy New Year ! 2013 is going to be a fun year and I look forward to doing more tutorials and how too's and sharing my crafting endeavours
Thank you to all who have joined my blog, lurked or just visited for a brief moment . Glad to share my craft ravings with you and hope you will continue to visit in 2013.


Using my home made rubber stamp for butterfly wings on dichro
I finally found my staz on stamp pad and got out my rubber stamp that I made
I want to stamp onto my dichro and then etch it
so far stamped


I want to stamp onto my dichro and then etch it
so far stamped


I will let dry and then cut down so I dont waste much of the dichro and I can use the scrap elsewhere
I have to find my etching materials then I can see how it will come out
I want a lot of the dichro to show through but think that my dots a bit close - but we will see

Still playing with Theresa Collins stamp maker
I thought I would give another try to the stamp maker as it goes so quickly and time over the next few days is slim to none. I have updated the tutorial but I thought I would do a separate note just to show what I did today.
I took the negative and a sharpie and made my lines thicker ( the open space for the larger areas was letting more light in and the lines did not come out as thick as I would like in the stamp so this was a quick fix )

I went through the process and got a really good stamp

 very minimal impression - you can still see it but it was nearly all solid stamp

I took the negative and a sharpie and made my lines thicker ( the open space for the larger areas was letting more light in and the lines did not come out as thick as I would like in the stamp so this was a quick fix )
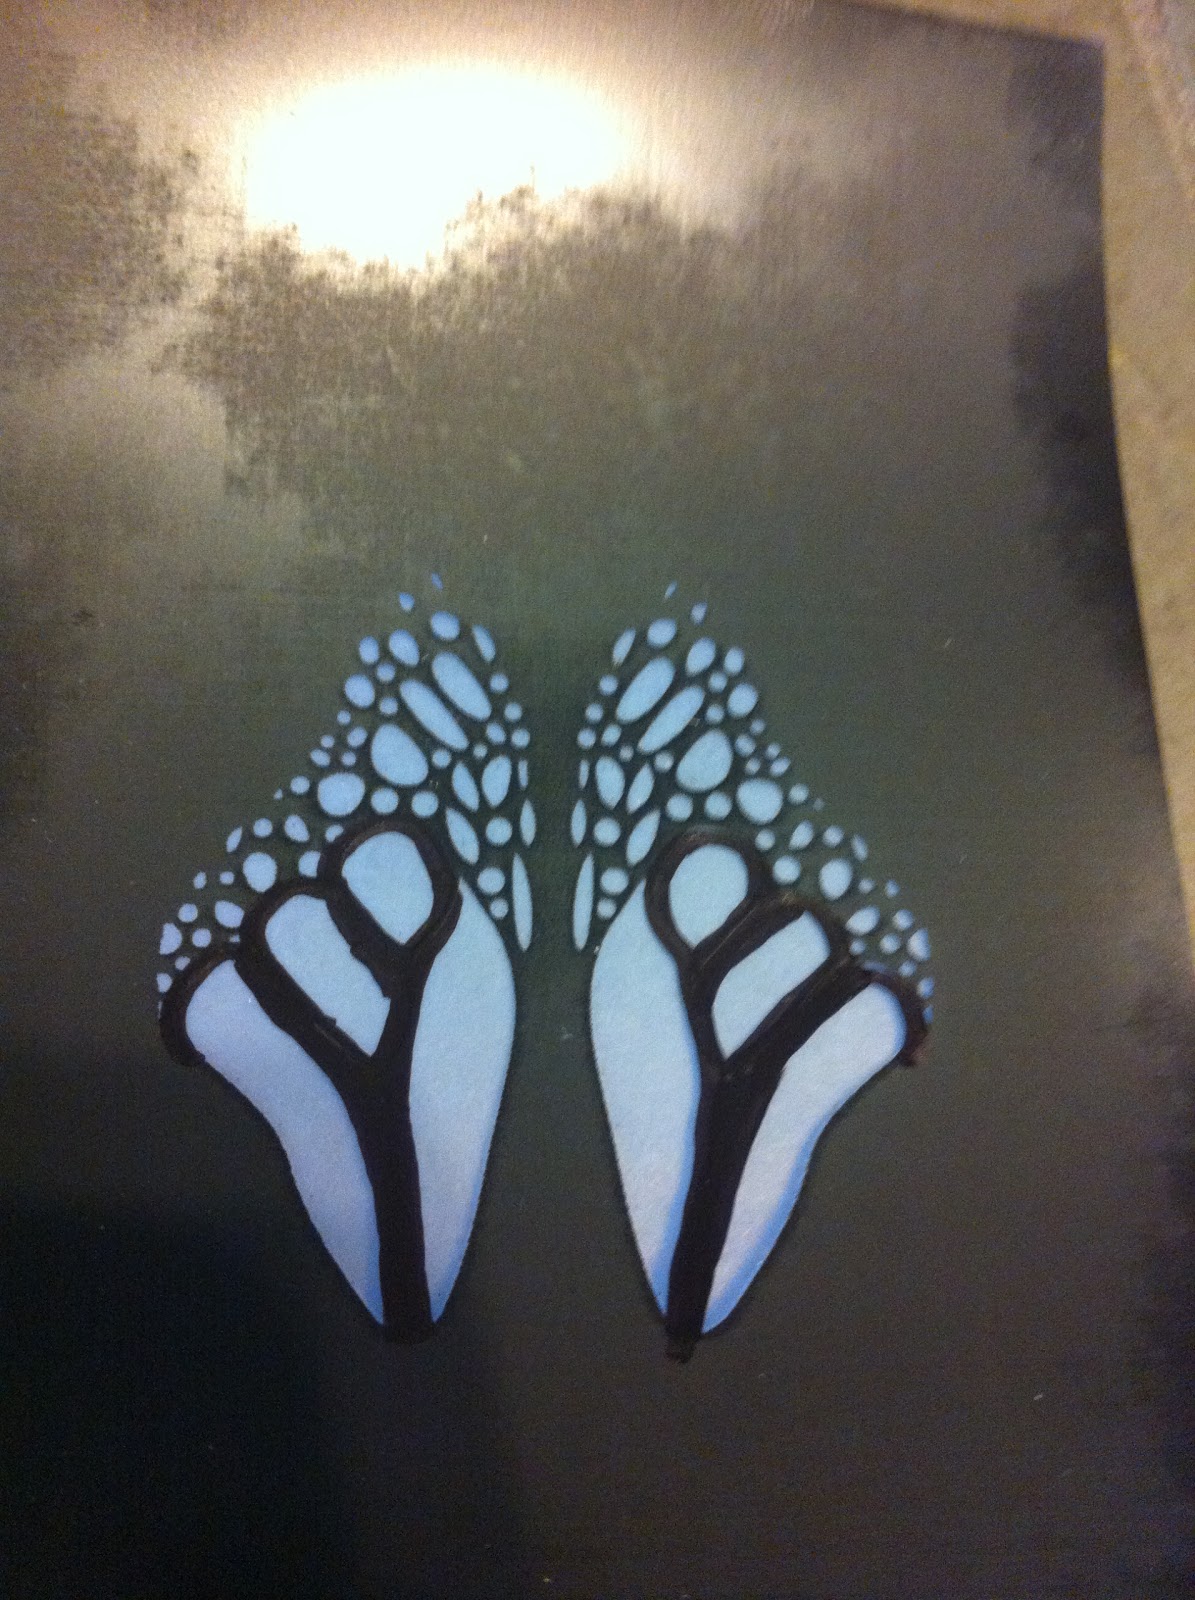
I went through the process and got a really good stamp

Now this was my second try- cant wait to try it out and prep some glass for etching and cutting
On the first try I thought I remembered the times
READ THE INSTRUCTIONS
On the first try I exposed the back for 30 seconds instead of 3 seconds and the front the 3 minutes
what I got was an almost exposed stamp
 very minimal impression - you can still see it but it was nearly all solid stamp
On the second that worked out well I still must have not given it the right amount but it all worked
the 3 seconds are supposed to be a flash exposure to give a thin background to the stamp
It worked but you can see some areas that the backing of the film that the stamp material sticks too shows through (shiny)

Making your own Custom Rubber Stamps with the Theresa Collins Stamp Maker
Using the Theresa Collins Stamp Maker
Rev Date: Dec. 23, 2012

Goal - make my own stamps easily
History: I have made my own stamps in the past - had to make my own magnetic frames to hold the liquid polymer which was not too bad once I had them all set up - three sizes - small, med and large and created an area that I had uv lights set up - This came in small bottles that you pour and then expose to the uv lights.

http://www.granthams.com/page2.html
I have a lot left ( bought the big box shown above ) so with the little exposure unit I might use it up as well
Step 1
The first thing you have to do is prepare your artwork
I used photoshop - I created my wing - A right and left - you only have to create one and then mirror it
because I want more dichro to show through I want the white areas to be the actual stamp that will leave the resist. .


Its says you should use an inkjet but I have found I like the toner better and in my past work found something that makes your acetates using toner black and non transparent. (I list this below)
For my first run I chose the medium size image and printed it onto the acetate sheet (A7) -


makes the toner blacker and ensure there are no white spots . The image came out beautifully. You see a solid black background and really black defined lines

I followed the instructions
I got out the frame and opened it up

I places image ink side up in a well/depression in one of the frames

place a sachet (stamp) with printing face up (so much easier - no mixing or leaking, or mess ) ,
Picture to follow
put on the cover (magnetic tray),
Picture to follow
pushed a bit on the top to ensure sache pushed to edges (in my case it did not care as my image was all center and the edges were going to be washed away )
turned on the exposure unit -
Placed tray face up as assembled into the exposer unit for 3 seconds,
then flipped over for 3 minutes
turned off unit, pulled tray out opened tray,
taking the sache out and putting the acetate image and tray to the side - I trimmed the edges of the sache with scissors, peeled the loose plastic top away (was a bit messy as the area that was covered with the black background was still liquid) ,

applied dish soap to the sache and used the little brush to wash away the material. Was pretty easy

Once I finished cleaning - it was still sort of pink (the color of the sache) I put in a little water tray (provided) with 1/4" of water and turned on exposure unit and left it face up for 2 minutes

- took out and dried.

I really had no negative things to say about the kit other than the little plastic water tray was broken but I can go to the dollar store and find something that will work - so no end of the world problems
I think I need to make the lines on the wing thicker as they are there in the stamp but really not too deep -
I'll have to do a stamping test to see if I really need to change it - but that will follow - I'll update this as I go along
 I took my negative and a sharpie and made the lines on wings to make them wider so that I could get a better definition

The results were amazing and very happy with them - the thicker line was the way to go was more defined so that when I stamp I'll get more resist onto the dicro with a more defined line for etching.

Rev Date: Dec. 23, 2012
Goal - make my own stamps easily
History: I have made my own stamps in the past - had to make my own magnetic frames to hold the liquid polymer which was not too bad once I had them all set up - three sizes - small, med and large and created an area that I had uv lights set up - This came in small bottles that you pour and then expose to the uv lights.
http://www.granthams.com/page2.html
I have a lot left ( bought the big box shown above ) so with the little exposure unit I might use it up as well
Step 1
The first thing you have to do is prepare your artwork
I used photoshop - I created my wing - A right and left - you only have to create one and then mirror it
because I want more dichro to show through I want the white areas to be the actual stamp that will leave the resist. .

I consolidated them onto one image and saved .
I thought if I do two on the image I dont waste space on the stamp - then I can cut my dichro as a square and stamp two wings at a time
I installed software that came with the kit that sizes it properly for the kit frame to process - There are three sizes A6, A7, A8 (this is a european product so the weird sizing) - being Small Medium and Large- which is great - you get three sizes to choose from- from one image . Medium is perfect for my pendants (just under 2") and the small is perfect for my earrings I want to make. I did have to go back and forth with photoshop till I had the placement of the image just right.

Its says you should use an inkjet but I have found I like the toner better and in my past work found something that makes your acetates using toner black and non transparent. (I list this below)
For my first run I chose the medium size image and printed it onto the acetate sheet (A7) -

I tilted it so you can see a bit through the black and you need really solid black so the light does not permeate the film and harden the resin.

To ensure a solid black background and lines I use something called Casey's Ultra Black
I used this with regular acetate (which I will try with these as well later ) for my screen printing when I used to burn screens for glass silk screening

makes the toner blacker and ensure there are no white spots . The image came out beautifully. You see a solid black background and really black defined lines

dries in minutes (this shows the image trimmed to size ) I sprayed when it was a full sheet (so I wasted some acetate) but next time I'll trim down and spray the smaller piece only
Why do you need a black background: the purpose is so the uv light only hardens the material that is in the clear areas - so your mindset is that anything that is not black will harden - anyting under the black will stay liquid.I followed the instructions
I got out the frame and opened it up

Therse frames have magnets to keep them together while processing

place a sachet (stamp) with printing face up (so much easier - no mixing or leaking, or mess ) ,
Picture to follow
put on the cover (magnetic tray),
Picture to follow
pushed a bit on the top to ensure sache pushed to edges (in my case it did not care as my image was all center and the edges were going to be washed away )
turned on the exposure unit -
Placed tray face up as assembled into the exposer unit for 3 seconds,
then flipped over for 3 minutes
turned off unit, pulled tray out opened tray,
taking the sache out and putting the acetate image and tray to the side - I trimmed the edges of the sache with scissors, peeled the loose plastic top away (was a bit messy as the area that was covered with the black background was still liquid) ,

applied dish soap to the sache and used the little brush to wash away the material. Was pretty easy

Once I finished cleaning - it was still sort of pink (the color of the sache) I put in a little water tray (provided) with 1/4" of water and turned on exposure unit and left it face up for 2 minutes

- took out and dried.

I really had no negative things to say about the kit other than the little plastic water tray was broken but I can go to the dollar store and find something that will work - so no end of the world problems
I think I need to make the lines on the wing thicker as they are there in the stamp but really not too deep -
I'll have to do a stamping test to see if I really need to change it - but that will follow - I'll update this as I go along


Looks thick but because all around is more open than the smaller areas the light shines through more so I wanted a more defined line - bust as always play and test
The results were amazing and very happy with them - the thicker line was the way to go was more defined so that when I stamp I'll get more resist onto the dicro with a more defined line for etching.

Stampmaker -My new toy has arrived
It came in the mail yesterday - I have not had a chance to open or read the instructions as yet
I got as far as taking it out of its plain brown shipping box - lovely presentation box.

I want to sit and read what I need to do and then make my own stamp - the one I really want is a butterfly wing for stamping resist onto my dichro wings , so I'll do a step by step so everyone can see how easy it will be to make your own stamps
I cant wait to start .
I got as far as taking it out of its plain brown shipping box - lovely presentation box.

I want to sit and read what I need to do and then make my own stamp - the one I really want is a butterfly wing for stamping resist onto my dichro wings , so I'll do a step by step so everyone can see how easy it will be to make your own stamps
I cant wait to start .
Waiting for Stampmaker
Just waiting for my Teresa Collins Stampmaker to come - this is one I stayed up all night to get 50% off and there happened to be a glitch - but I did get one - should be coming any time as I think they shipped on Dec 8 - so now I want to think about what patterns to make - I did by some of the daylight packs with the intent of making butterfly wings for stamping on my dichro for etching to make it easier as I do them by hand
right now typing without a splint and boy does it hurt but if I dont use it the wrist is never going to be better
right now typing without a splint and boy does it hurt but if I dont use it the wrist is never going to be better
Subscribe to:
Posts (Atom)