More playing with torched enamelling- its more about finding a rally good set up for the torch under the pieces and not burning out screens as I know first timers will do .


Sifted enamel (black) for counter enamelling on the copper pieces 
Placed on the wire mesh -  the side facing down is raw copper that the torch will hit and will worry about fire firescale (will give tips on this in a later post when I test it out- see if it works same as in the kiln  and cleaning after )


after torching -  not totally smooth - sort of orange peel - better to not go full smooth fuse as your going to hit it again with the torch - overfiring has the enamel pull away from the edges 

Fire scale  on underside - take an emery board to go around edges and some surface - or put into a pickle  - sandpaper on a dremel is fast or by hand - or steel wool

clean up and sift enamel onto the cleaned side

you cant put the piece back on the mesh as it would stick (the counter enamel would melt)  so you need to use a trivet that will just hold the sides where there is no enamel .
I set to the corner so I can get under the piece to fire - through the screen I find you have to hold too close to the screen and thus burn out the screen.

I used my 11 year old granddaughter as a student and taught her how to do it 

the first piece I helped a little with the torch  as it can be kind of scary for an 11 year old
Very happy crafter  
then she made by herself a present for her younder sisters birthday this week 
she sifted herself - counter enamelled  and then put on trivet and fired the top (from underneath) 
she actually fired twice as she wanted an eye put on the piece 
Her sister loved it 


Torch Enameling Class -The Glass Shoppe Studio - Ottawa

Pics from a very successful classes at the The Glass Shoppe Studio in Ottawa - great studio set up to work with
Link to more pics:
http://www.facebook.com/media/set/?set=a.455649227787580.104077.142658929086613&type=3

Very busy set of ladies working on their beads 
One student was in the morning class and came back in the afternoon and purchased  more studio  time during the afternoon class   to make more beads  so she could finish her necklace - she made an absolutely lovely necklace 
Totally amazing beads


Torch Enameling - Another Test

So I found my favorite torch head - Bernzomatic TS4000 self igniting torch and found this will be the one I will use for classes

found my trivets and my tripod and screen  and proceeded to grab two round copper pieces - one larger than the other
put a couple of holes in (do this first as you cant do it after firing) with my hole punches and  cleaned the copper (keep your fingers off the cleaned part if you can)  and then sifted black on one side . (I did not use any Klyr fire for this project ) Klyr fire is a product that help the enamel adhere - but if you don't need it you don't have to use it   The first side  or back (called counter enameling)  I put directly onto the mesh as there is no glass on the back of the pieces
 with the torch right under neath - Less than a minute later - I only want to go to orange peel as I will be hitting this with the torch after again - I am trying not to have the enamel pull away from the sides - which is an over fire 
Let cool - the other side has what is called firescale that needs to be cleaned off - 
using a simple emery file I cleaned off the fire scale and the edges - I like to keep the edges clean after each firing - you could leave to end but then its your choice 
after cleaning I sifted a different color on each piece  and now it has to go on the trivet  - if you set  directly on the screen it will stick as the counter enamel will melt  - move your trivet to a corner of the screen 
torch from beneath again till its smooth 
You can use a firebrick  sitting on a can with your trivet - you just want access under the piece for the flame 

(I partially dropped the small one and hit with the tweezers -  so it has a flaw) but being a tester I was not too worried . they came out great - finish by using the emery file around the edges to clean off the fire scale

see the orange is perfect the red has a bit of over fired  but that is because I knocked some enamel off the piece 
voila - not great but I accomplished what I wanted - to know what I need for tools and materials for the class 


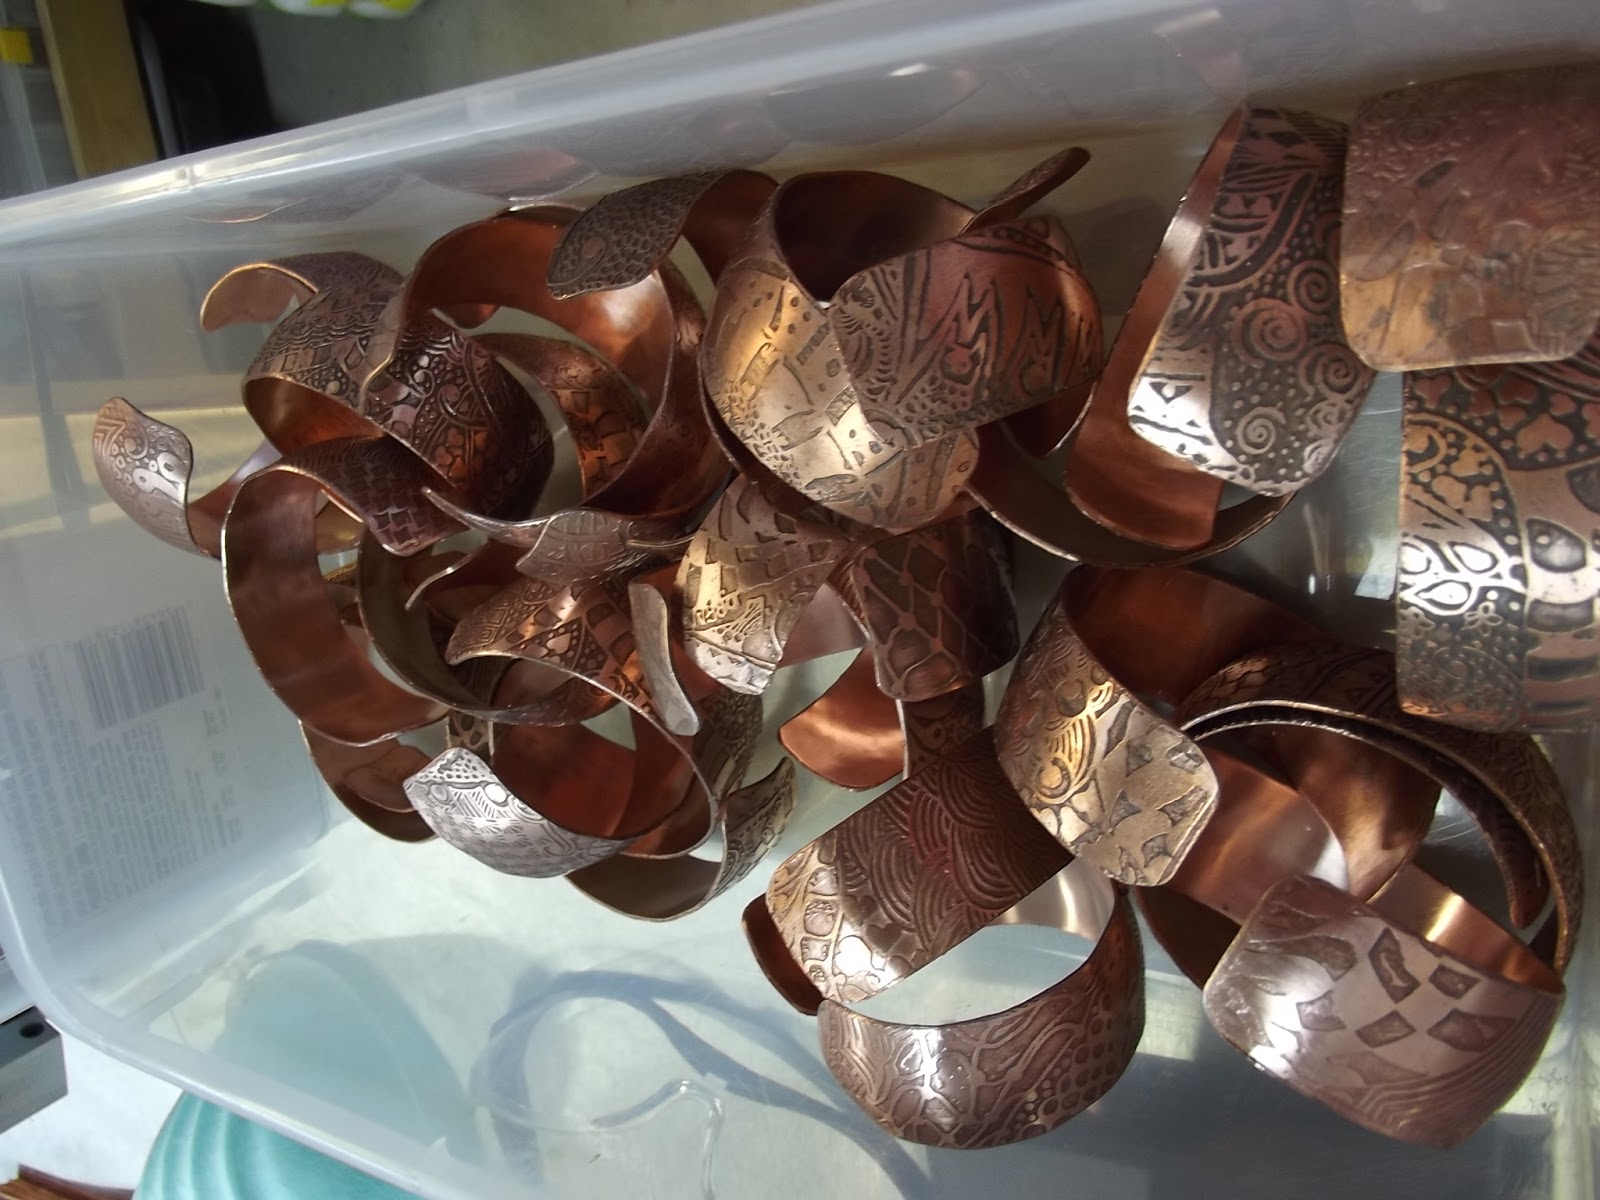
Etched Copper Bracelets - 1/2"- PnP Stage

Made more copper bracelets - 1/2" style last night - cut the 6" length down to 5" (there is an even smaller one - my grandaughter wanted a bracelet so I cut it down to her size ) and trimmed , cleaned and pressed the PnP onto them with my super cool heat press - I did all 14 of them at once - what a time saver as I said before the PnP is the most time consuming portion of the process now - its a 15 minute process for I bet a few dozen at a time if I wanted
tonight its fix any areas that the PnP did not stick too - not perfected this yet  but getting close -  so once I fix that they are into the ferric chloride -  fresh I find is about 2 hours,  used and older 3-4 hours -  I added some citric acid and got back to 3 hours - sort of helps with the etching - really was not paying attention so I have to do some testing to see if the citrix really makes a difference (called Edinburgh etch  when you add the citric to ferric) that is another project to check on 

Torch Enamelling

Had a great two classes teaching enamel beading with a torch at the Glass Shoppe Studio in Ottawa on the weekend.  

These classes use metal beads onto which you fire Thompson Enamels  as you have seen in previous posts.  The next step and class will be torch enamelling copper pieces  (no kiln required)

I have been accumulating tools for this type of class
Tripods, screens, trivets, enamels etc...  
Last night I brought out the various torches to test them out
The butane self igniting torch
is ok but a bit slow for my liking - and after a few minutes (I hate waiting - I like instant gratification)  not much was happening - maybe to a granular stage 
although I did it through the screen on the tripod and that could absorb a lot of the heat from the torch rather than it going to the copper piece 
I bought a top for my mapp/Propane tanks to test out as well last night 
the top looks similar to what is on the butane - these are self igniting as well .
 Will be testing my standard self igniting torch heads as well next session

I tested it out using the tripod and screen again and got a much faster and better result - maybe the pressure from the tank is better as I found the flame more robust.
The tripod is great to keep your work above the table and give you access under the piece 

the screen allows easy access and the turn out of the sample was acceptable.   - a tall juice can with a fire brick on top and trivet  will also do the trick (to follow)  Less than a few minutes to produce a fired piece.
This piece I did not counter enamel  but just tested 

The next test will be using trivets on the tripod with a fire brick and torching from beneath so that the flame is directly on the copper piece - after that will be home made sort of supports on the tripods and using stainless steel wire to make firing forks and supports 
. The trivets I  usually use in my little kiln 

Kiln Story:   - way back when I was about 16 I started copper enamelling 
I totally enjoyed making pendants and earrings and necklaces 
I bought my kiln from Lewiscraft - which has since gone out of business and my enamels from them and Nautilus in Scarborough - who also is out of business (crafting was not as big as it is now  it seems) 
I used that kiln what seemed like years and then it sat, and sat and I dragged it around with me when I moved all over  and even down to the USA for 10 years.
Last year - marking about 40 years of owning this kiln - I decided to see if I should replace the element as I could not remember if when I put it away it still worked (I had bought spare elements just in case and an extra kiln about 10 years before)  (Yes I do tend to accumulate stuff and not use it ) 
I plugged it in and after 40 years it fired up perfectly -   it worked fine - I even did a test piece 
Its an Amaco Kiln FA-5-E 

Here is a pic of the new version - mine is a shiny  ceramic surface  this is a matte surface 
Plugs into 120v  does items up to 5"  - and since most copper shapes are so small this works well 


Etch Bracelets - Heat Press - Applying PnP Blue Etch Resist

Spent more time with the heat press - figuring out the best temp and time to get the best results.


the digital setting makes it easy to set up and once the top is locked down there is a count down timer


I lay out the blanks with the PnP on top and then close the lid and let the timer do its job. It does not shut it off so you have to open and remove /cool 
I still put a sheet of unwaxed paper over top 

I ended up making about 3 dozen bracelets rather quickly  - I just have to finish with a patina
(once out of the press, its into the etching solution, cleaning and polishing)


I finally got to make some of the thinner bracelets as well that I have been saving


 How I lay out my PnP sheets:

Not to waste any PnP blue I layed out my sheet 

 Measured out the width of the bracelets


 Using a sharp pointed object  just ran it down the ruler and along the edge of the blank
 then just cut them out
makes it easy to just place on top of the blanks on the heat press 

Enamel Beading Set Up

This is a typical Enamel Beading set up that I like

This dates back to the old days of PINZART - Pam East - when she used to do enamel beading
I have a lot that chunk enamel - left I'll have to show soon as using tubing and the large mesh enamels was a lot of fun

This set up is for basic Enamel Beading with iron or base metal beads.
The metal cups are from Dollarama - you get 2/$1
The loaf pan from Dollarama - 3/$1
Vermiculite - Uline carries but they make you buy two huge bags - you can get at some garden centres 
Ceramic Tile for the base 
Mapp Gas Cannister
Fireworks self igniting torch head 
Clamp
Metal band and angle piece to hold canister to the table 
Bowl of Beads
Bead Holding Mandrel  (Thompson Enamels)
Finger Bead Removal Tool (I make these) 
Your biggest cost is the torch head - but you could set up for under 100.00 and have a few enamels as well