

the digital setting makes it easy to set up and once the top is locked down there is a count down timer
 I lay out the blanks with the PnP on top and then close the lid and let the timer do its job. It does not shut it off so you have to open and remove /cool
  I still put a sheet of unwaxed paper over top
 I ended up making about 3 dozen bracelets rather quickly - I just have to finish with a patina
(once out of the press, its into the etching solution, cleaning and polishing)

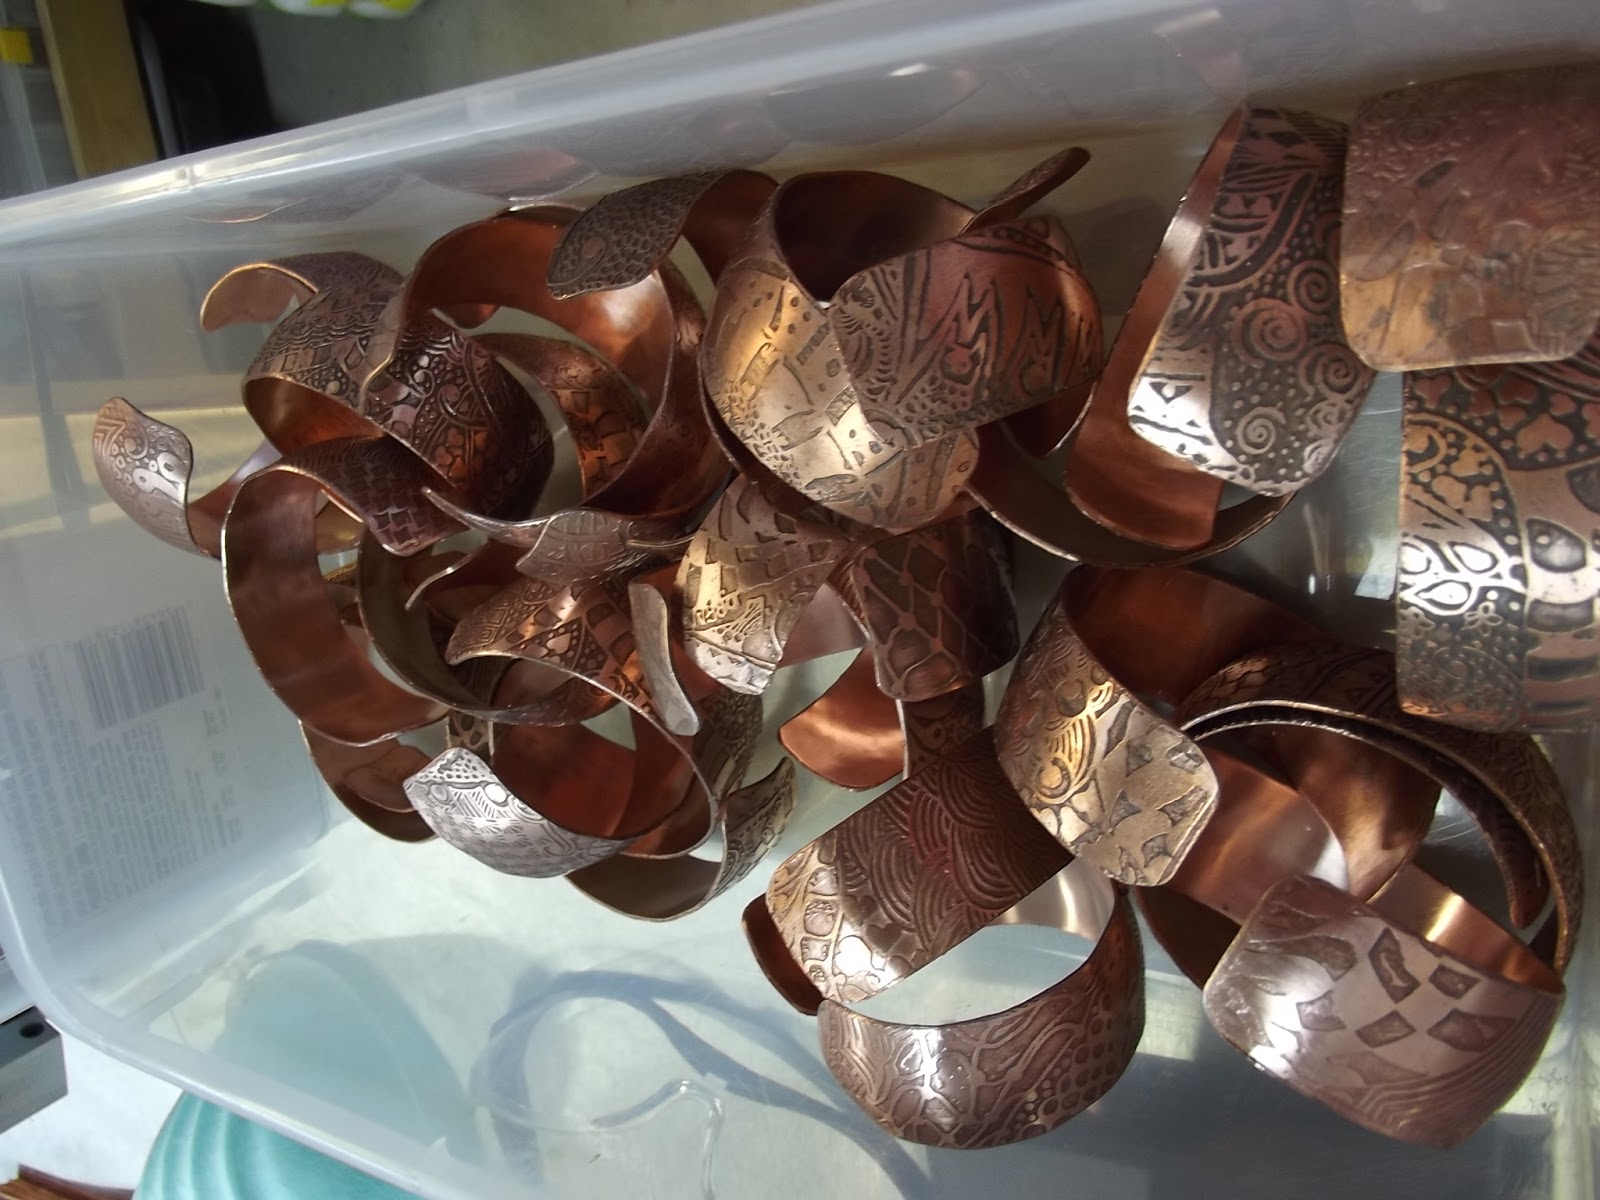
I finally got to make some of the thinner bracelets as well that I have been saving


Not to waste any PnP blue I layed out my sheet


makes it easy to just place on top of the blanks on the heat press
Now THAT is cool - stamping by hand gives me fits. Sometimes I have to stamp a piece 3 or 4 times (using acetone to clean the ink off in-between each attempt) because something didn't "do right" in the stamping process. And what a time saver - very interesting!
ReplyDeleteIts great - you create your own artwork and transfer to a full sheet- just scan and print it on the PnP
ReplyDeleteeven without the heat press - a household iron works just fine - I got the press to help in classes I am going to teach but its amazing to get so many done at a time
OMG. I love this. I just started playing with ferric chloride and what to try the pnp since I have a heat press I wanted to try it that way. Love, love, love!
ReplyDeleteIs 137 the temp you set the heat press or 170? Mine has the cheap knob to set the temp. Just curious.
ReplyDelete